18 February 2021
Make friends UITableView with layout margins
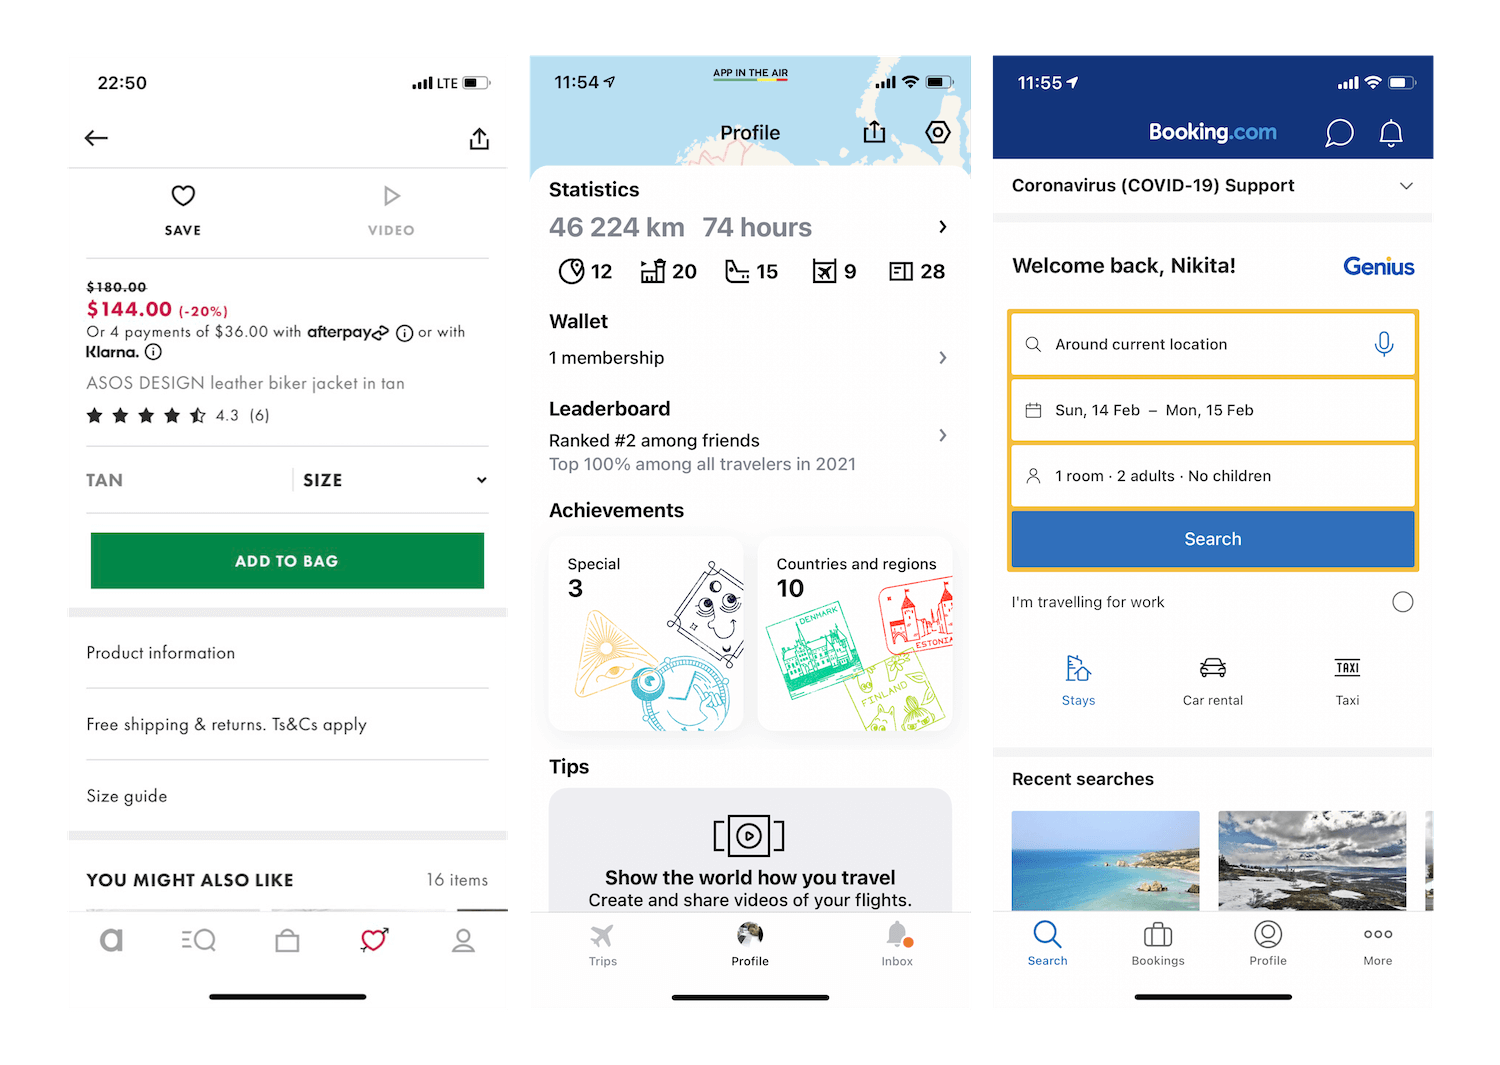
It will not surpise you that most iOS applications tend to have scrolling-style screens. Have a look at some of the screenshots I’ve prepared below - all of which contain scrollable content. One more similarity is layout margins, notice that all content is aligned to the left with the same inset - 16pt. It’s important to keep this value consistent across the whole screen. I’ve tried and heard about many different approaches. Someone can use a base cell class with a container adjusted to a needed value. Other developers don’t bother with this method and use a global constant for horizontal pinning instead. I’ve even seen an adjusted tableview’s origin.x value, but a scroll area suffers this way…
Today I’m going to talk about another approach - using layout margins! We will configure a particular inset value for a root view only and then pin all subviews to this guide.
If you haven’t heard about layout margins in-depth before, I highly recommend this detailed article before reading further.
If we can agree, that 16pt is a lot for our app as a horizontal margin, then perpahs 10pt is a great value that we’re going to work with.
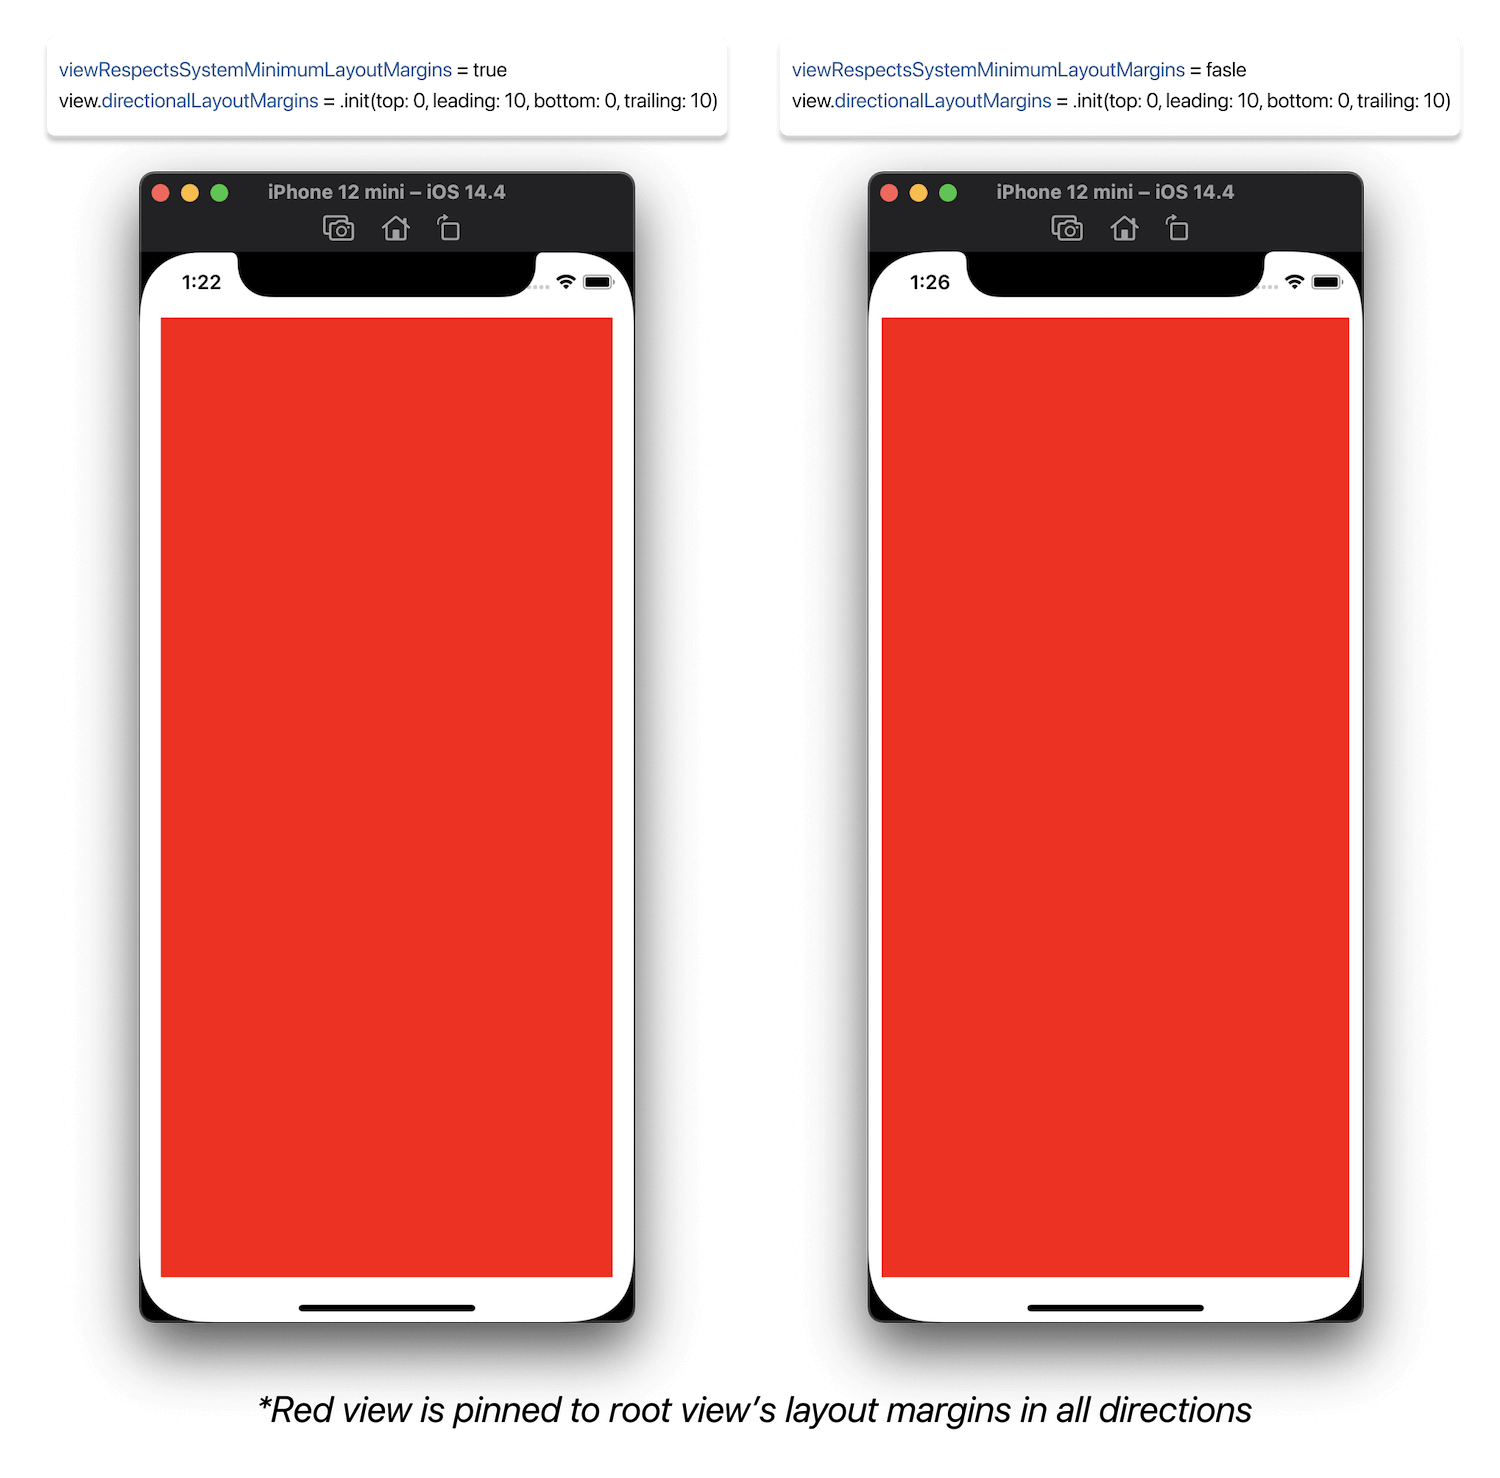
Our first step is disabling viewRespectsSystemMinimumLayoutMargins since 10pt is less than 16pt (the default system margin).
viewRespectsSystemMinimumLayoutMargins = false
When the value of this property is true (default), the root view’s layout margins are guaranteed to be no smaller than the values in the systemMinimumLayoutMargins property. Changing this property to false causes the view to obtain its margins solely from its directionalLayoutMargins property. Setting the margins in that property to 0 allows you to eliminate the view’s margins altogether.
Then we configure directionalLayoutMargins to correct and obtain our margin values:
view.directionalLayoutMargins = .init(top: 0, leading: 10, bottom: 0, trailing: 10)
I’ve prepared two screenshots to better understand the differences between these options:
Go over to the second step - configuring a table view. Since the table view has its own margins, it is necessary to preserve the root view’s margins. We need to set these properties:
tableView.preservesSuperviewLayoutMargins = true
tableView.directionalLayoutMargins = .zero
When the value of this property is true, the superview’s margins are also considered when laying out content. This margin affects layouts where the distance between the edge of a view and its superview is smaller than the corresponding margin. For example, you might have a content view whose frame precisely matches the bounds of its superview. When any of the superview’s margins is inside the area represented by the content view and its own margins, UIKit adjusts the content view’s layout to respect the superview’s margins. The amount of the adjustment is the smallest amount needed to ensure that content is also inside the superview’s margins.
The last step you need is to configure layout in conformity with cell’s margins:
label.leadingAnchor.constraint(equalTo: contentView.layoutMarginsGuide.leadingAnchor).isActive = true
That’s it! Now you only need to change the layout margins of the root’s view and all subviews will be in sync automatically in the case of correct configuration of course! I also prepared a demo project for fast cloning and playing at your side. Your welcome!
It is important to mention the layout margins approach is applicable for UIStackView and UICollectionView as well! For stack view, there’s a isLayoutMarginsRelativeArrangement for help with useful article and in a collection view, this can be achieved by adjusting section insets or using the similar way as described in the article.
I hope it was worth reading for you and you will consider this approach when you start coding a new screen :)
© 2024 Nikita Ermolenko. Some rights reserved.